")
We are members of the Charlotte Mason Education Center (CMEC) and it has been such an amazing gift to our homeschool. The ladies over a the CMEC create an incredible Charlotte Mason Curriculum and provide phenomenal resources for the homeschool mama. And all those resources need to be organized for the upcoming year.
One of my favorite things to do to prepare myself for the school year is to get my teacher resource binder organized. That involves printing LOTS and LOTS of pages and getting everything set up behind dividers. So, I’m going to walk you through my binder in this post. I hope it’s helpful!
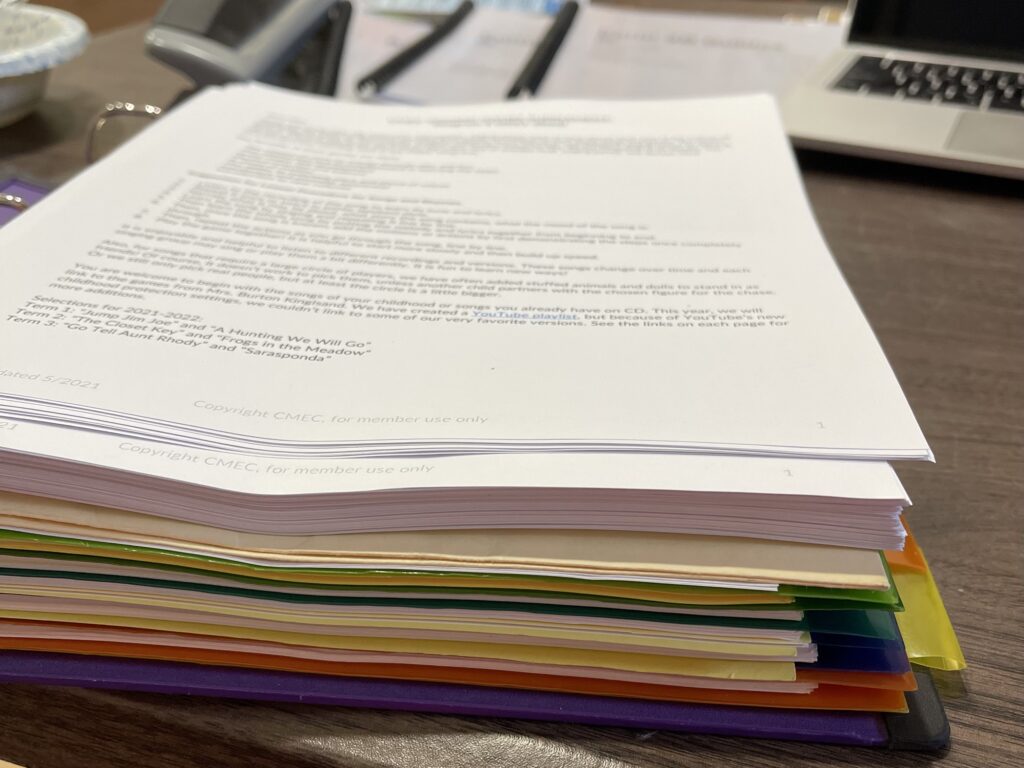
Usually I start by making a list of all the things that I need to print and I have a printing party. Once everything is printed I’m ready to get organized.
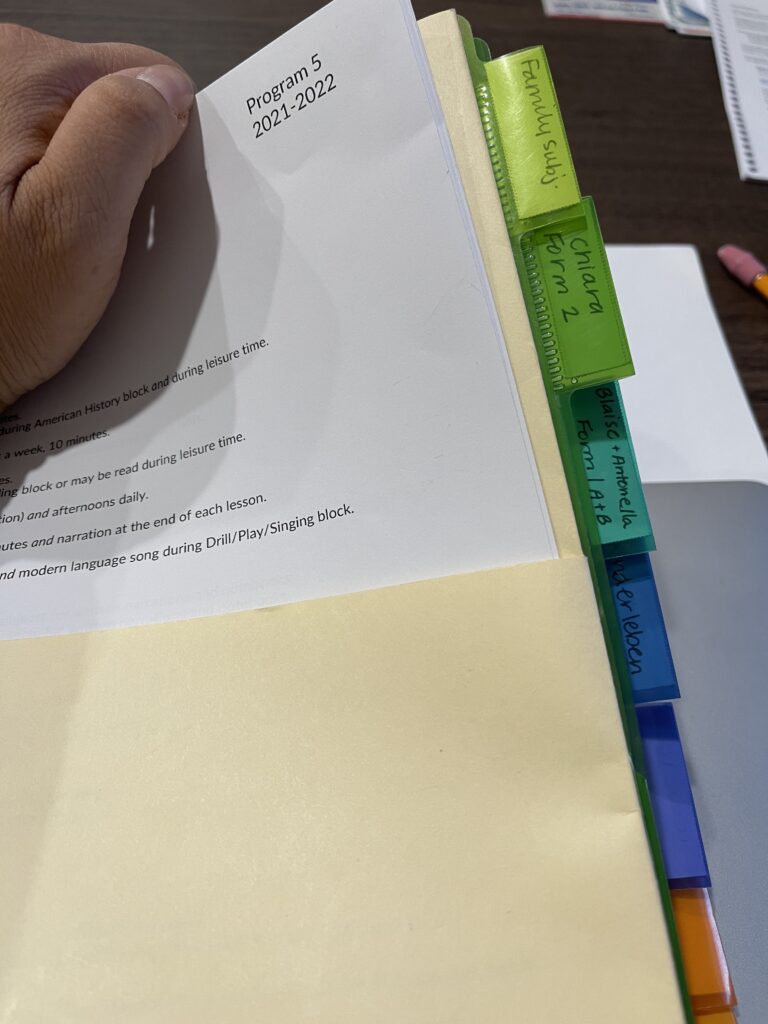
In my binder I use a set of plastic folder dividers. I use Avery Brand, but any brand will work. I love these because they are sturdy and larger than regular dividers, and because they have a folder on both sides of each divider, you can temporarily put paper in the folders if you need to. I also have multiple sets of regular old paper tabs. Because they are sized at 8.5×11 they sit nicely behind the oversized folder tabs, which I love.
I have a divider set up by Family Subjects, Form 2, Form 1, and Kinderleben. I have a set of 8 dividers so the other tabs sometimes go unused.
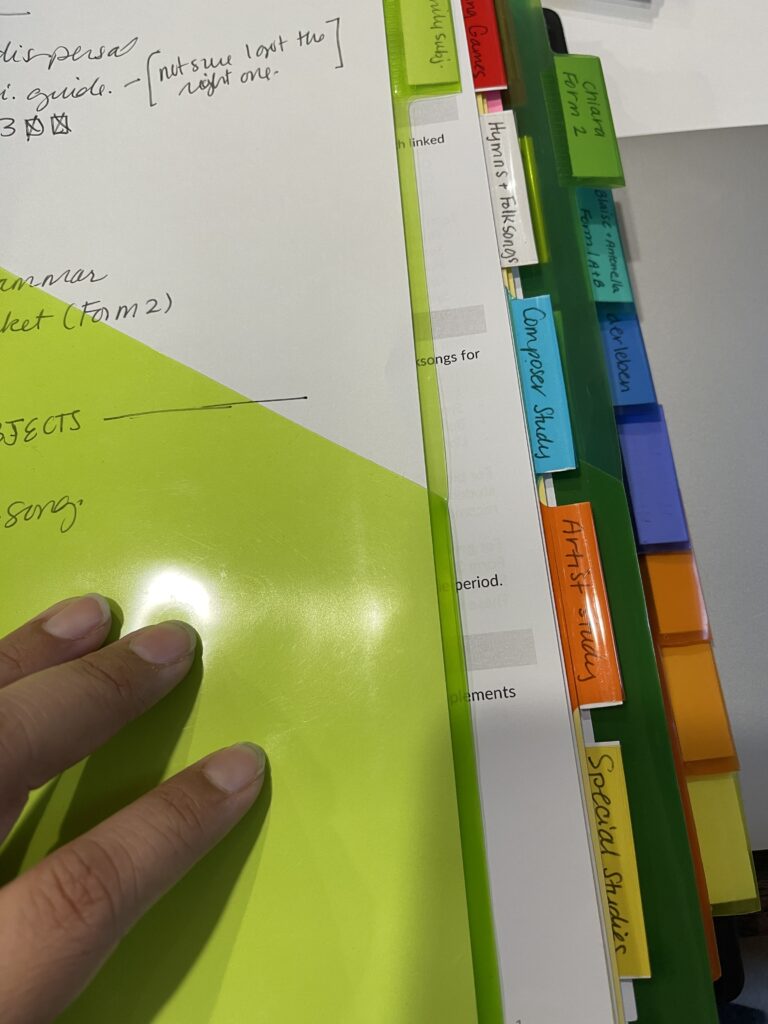
Behind the Family Subjects tab I place a set of regular paper tabs. The first thing I place is the “Common Subjects” program print out. This doesn’t go behind a smaller tab. It sits right on top of the regular tabs so it’s the first thing you see when you open the Family Subjects tab. Then I put the various guides for family subjects like Singing Games, Hymns and Folk Songs, Composer study, Artist Study and special studies behind their own tabs. During the year I pull out the term specific guides and bind them in an easy to access spiral for weekly use, but when they are not in use, they are stored here.
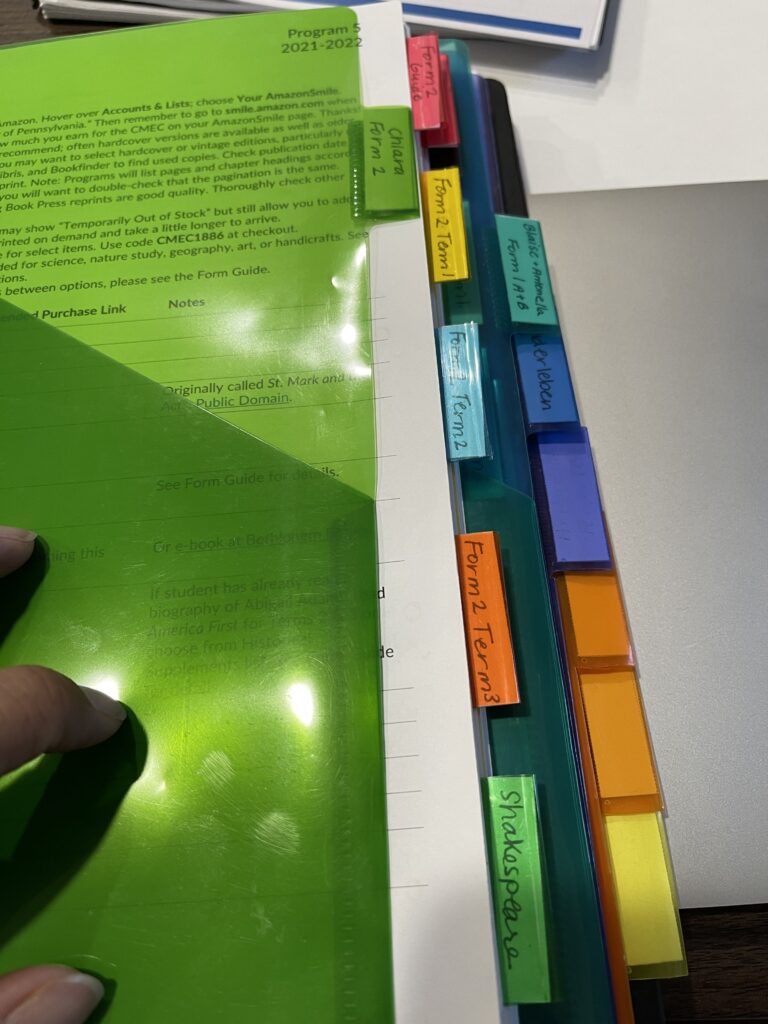
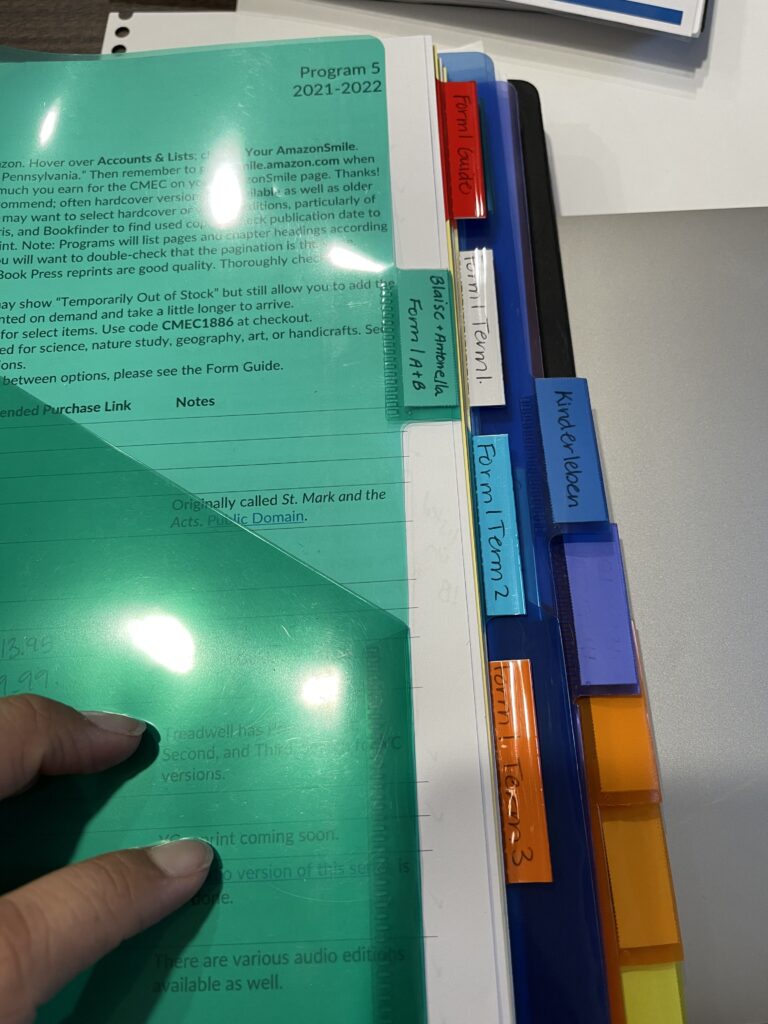
Next, I have a large tab for Form 2, my oldest student. She is in Form 2A lower this year. I follow a similar format with all the next major tabs. So behind her tab I have the shopping list on top so it’s the first thing you see when open the tab. Then there are tabs that include the Form Guide, Term 1, 2 and 3 program guides behind their own tabs and then the individual subject guides like Plutarch and Shakespeare.
My next tab is for Form 1. I have two students in this form but I set up the tabs behind this section in exactly the same way as I did for Form 1.
Lastly, I have a tab for Kinderleben and I keep the guide, recommended articles and the seasonal supplements behind their own tabs.
I keep this resource binder in our school room. With all the tabs it’s easy to reference when I need something.
One of the last things I create for the school year is a set of spiral bound books that contain all the resources I need weekly. I have one for Common Subjects that contains the terms hymn notes, folksong notes, artist study notes and so on. I have one for Form 1 and a separate one for Form 2. When I’m working with a student on a book that has a guide, I pull out that spiral and have exactly what I need. It’s so helpful to have this resources handy instead of a huge binder. Each term, I swap out the contents with just the information I need for that term so the book stays nice and small.
And that’s about it. It’s simple, easy to access and works so well for our family.